
Repairing a carpet with double-sided carpet tape is a straightforward process. Here’s a step-by-step guide:
Materials Needed:
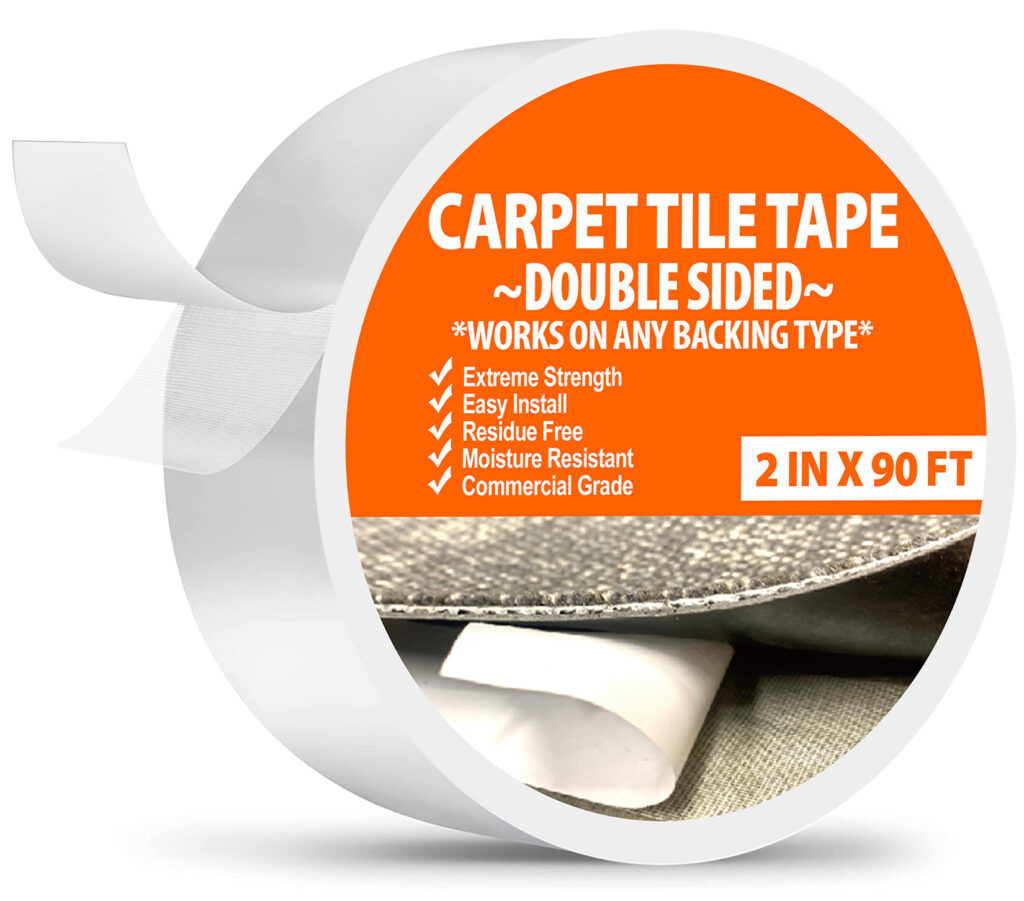
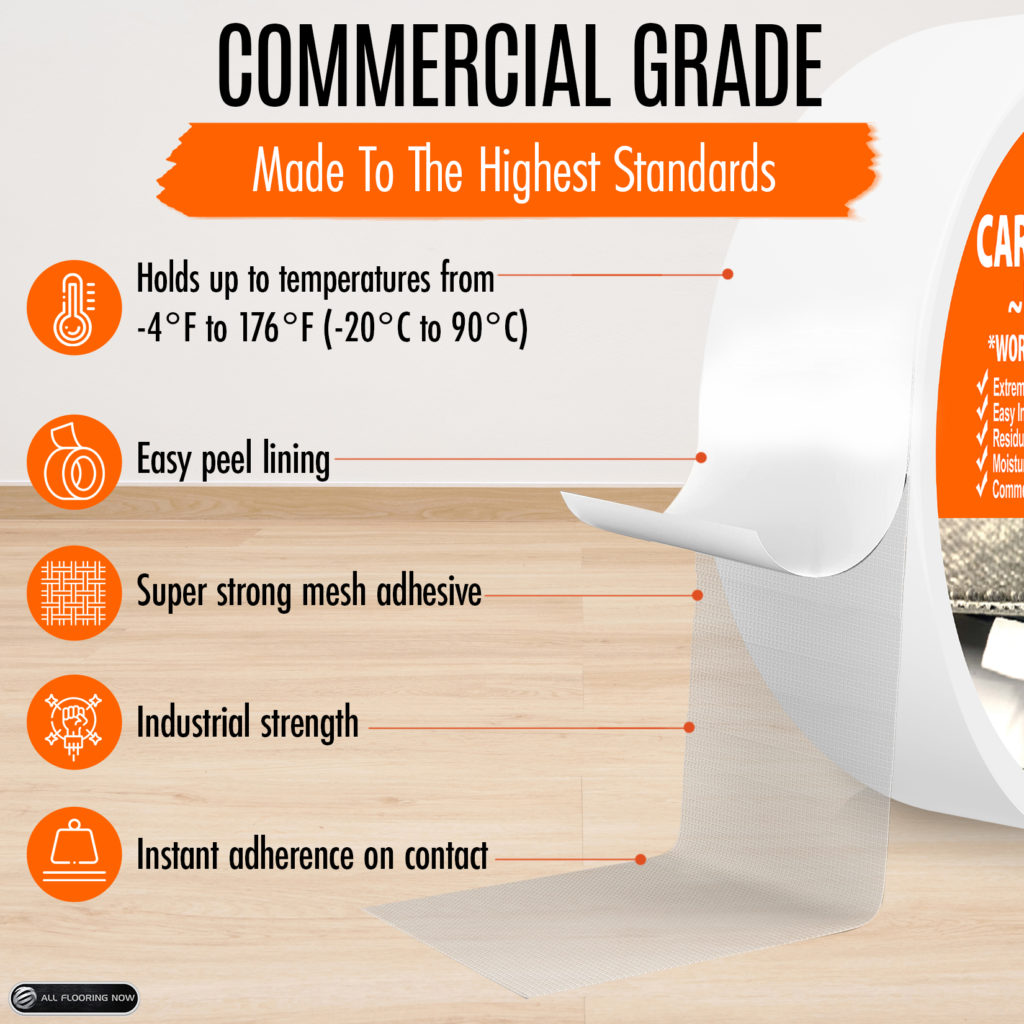
- Double-sided carpet tape: Choose a high-quality tape specifically designed for carpet repairs. Ensure it has strong adhesive properties and is suitable for the type of carpet you’re working with. We recommend All Flooring Now Double Sided Carpet Tape
- Utility knife: Use a sharp utility knife to cut the carpet tape and trim any excess carpet.
- Replacement carpet scrap (if necessary): If you’re repairing a damaged section of the carpet, you’ll need a spare piece of carpet that matches the texture, color, and pile of the existing carpet.
Steps:
- Clean the Area: Before beginning the repair, thoroughly clean the area around the damaged section. Use a vacuum cleaner to remove any dirt, debris, or loose fibers. Cleaning ensures better adhesion of the tape and a smoother repair.
- Cut the Replacement Piece (If Necessary):
- Use a utility knife to cut out the damaged portion of the carpet. Make straight cuts along the edges of the damaged area, ensuring a clean removal.
- Measure the dimensions of the hole and cut a replacement piece from the spare carpet scrap. The replacement piece should be slightly larger than the hole to provide ample coverage.
- Prepare the Surface:
- If you’re replacing a section, clean the floor underneath the damaged area to remove any dust, dirt, or old adhesive residue. A clean surface ensures better adhesion of the tape.
- If you’re reattaching loose carpet, ensure the area is clean and dry. Remove any old adhesive or debris that may hinder the bonding process.
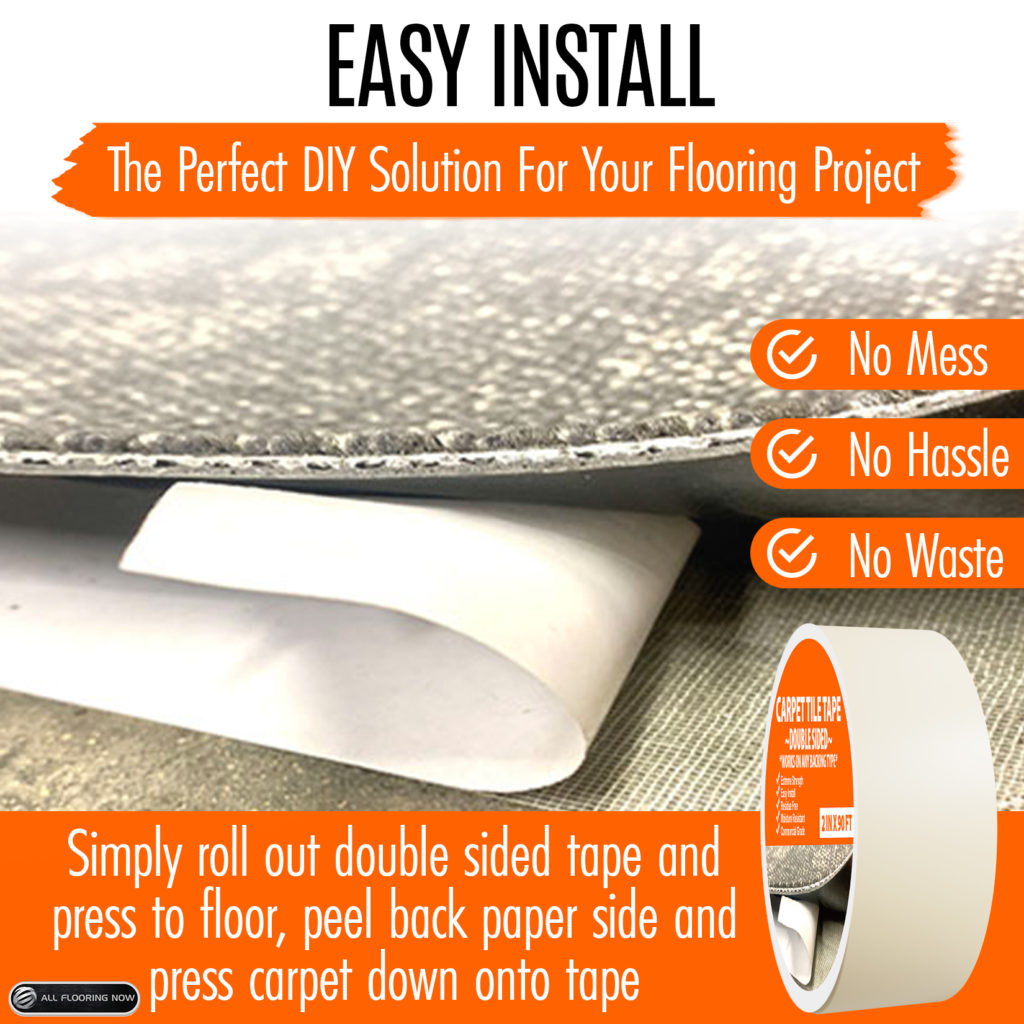
- Apply Double-sided Carpet Tape:
- Cut the double-sided carpet tape into strips or pieces that match the dimensions of the repair area. Ensure the tape covers the entire perimeter of the repair area.
- Peel off the backing from one side of the tape and carefully apply it along the edges of the damaged area or around the perimeter of the replacement piece. Press down firmly to ensure good adhesion.
- Position the Replacement Piece (If Necessary):
- Carefully place the replacement piece onto the double-sided tape, aligning it with the surrounding carpet fibers. Ensure the replacement piece fits snugly into the hole without any gaps.
- Press down firmly on the replacement piece to secure it in place. Use your hands or a carpet roller to ensure even pressure.
- Press Down Firmly:
- Once the replacement piece is in place or if you’re reattaching loose carpet, press down firmly along the entire repaired area. Apply pressure evenly to ensure proper bonding between the carpet and the tape.
- Trim Excess:
- Use a utility knife or scissors to trim any excess carpet fibers sticking out around the repaired area. Make precise cuts to achieve a neat and seamless finish.
- Allow Time to Set:
- Let the repaired area sit undisturbed for several hours to allow the adhesive on the double-sided tape to fully bond with the carpet fibers and the floor underneath. Avoid walking on the repaired area until the adhesive has set completely.
By following these detailed steps, you can effectively repair your carpet using All Flooring Now Double Sided Carpet Tape Heavy Duty , whether you’re fixing a small tear, reattaching loose carpet edges, or replacing a damaged section.


Leave a Reply