
When it comes to revamping your living space, few things make a more significant impact than a fresh carpet. However, the traditional method of installing carpets can be time-consuming and labor-intensive. In this article, we’ll explore a time-saving tactic that can transform your carpet installation process – installing carpet tiles with ease using tape.
Benefits of Carpet Tiles:
Before delving into the installation process, let’s briefly discuss why carpet tiles have become a popular choice for homeowners and interior designers alike. Carpet tiles, also known as carpet squares, offer several advantages over traditional broadloom carpets.
- Modularity: Carpet tiles come in modular squares, allowing for a versatile and customizable design. You can mix and match colors, patterns, and textures to create a unique flooring design that suits your taste and style.
- Ease of Replacement: One of the standout features of carpet tiles is their individual nature. If a portion of the carpet becomes stained or damaged, you can easily replace the affected tiles without having to replace the entire carpet.
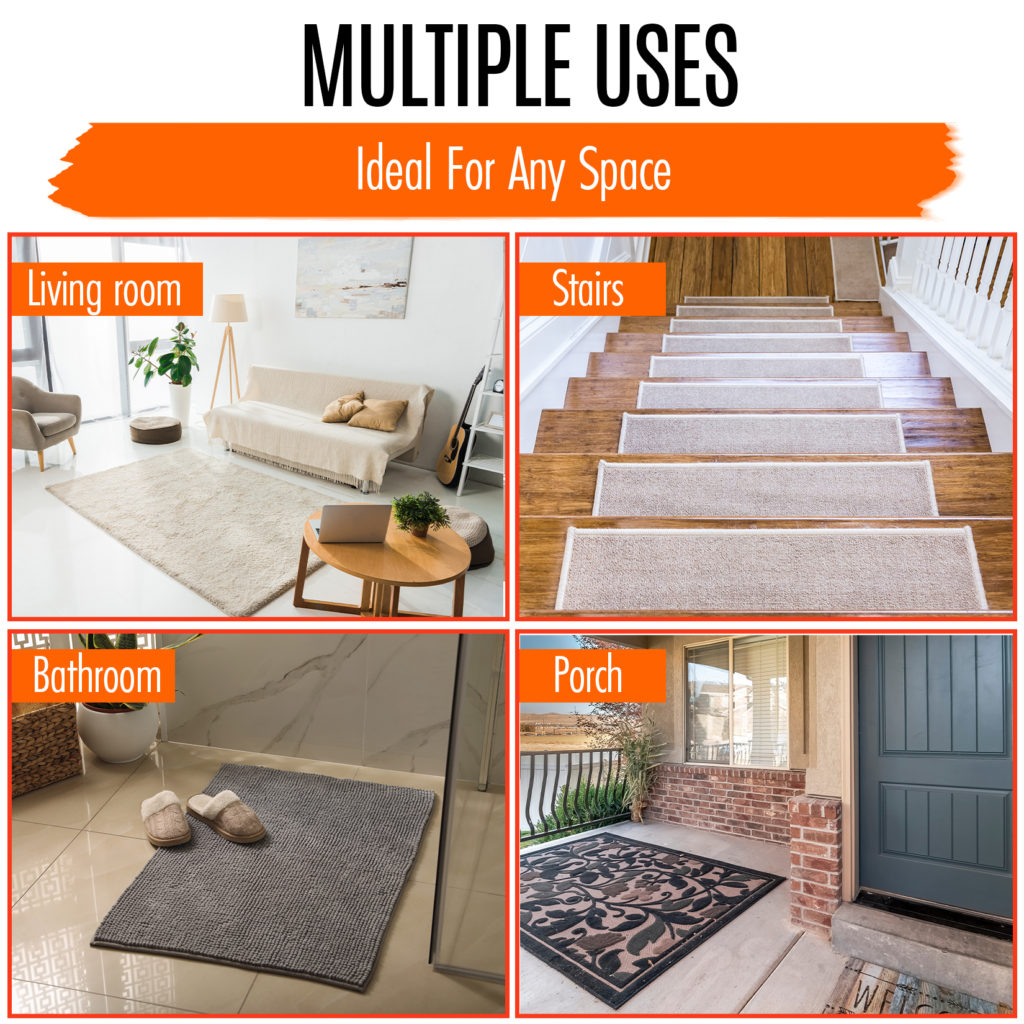
- Installation Flexibility: Unlike wall-to-wall carpets, carpet tiles offer more flexibility in installation. This flexibility extends to the type of adhesive used, making it possible to employ time-saving tactics like using tape.
Time-Saving Tactic: Installing Carpet Tiles with Carpet Tile Tape
Now, let’s dive into the step-by-step process of installing carpet tiles using tape. This method not only saves time but also simplifies the installation process for both DIY enthusiasts and professionals.
Materials Needed:
- Carpet Tiles: Choose high-quality carpet tiles in the desired color and texture.
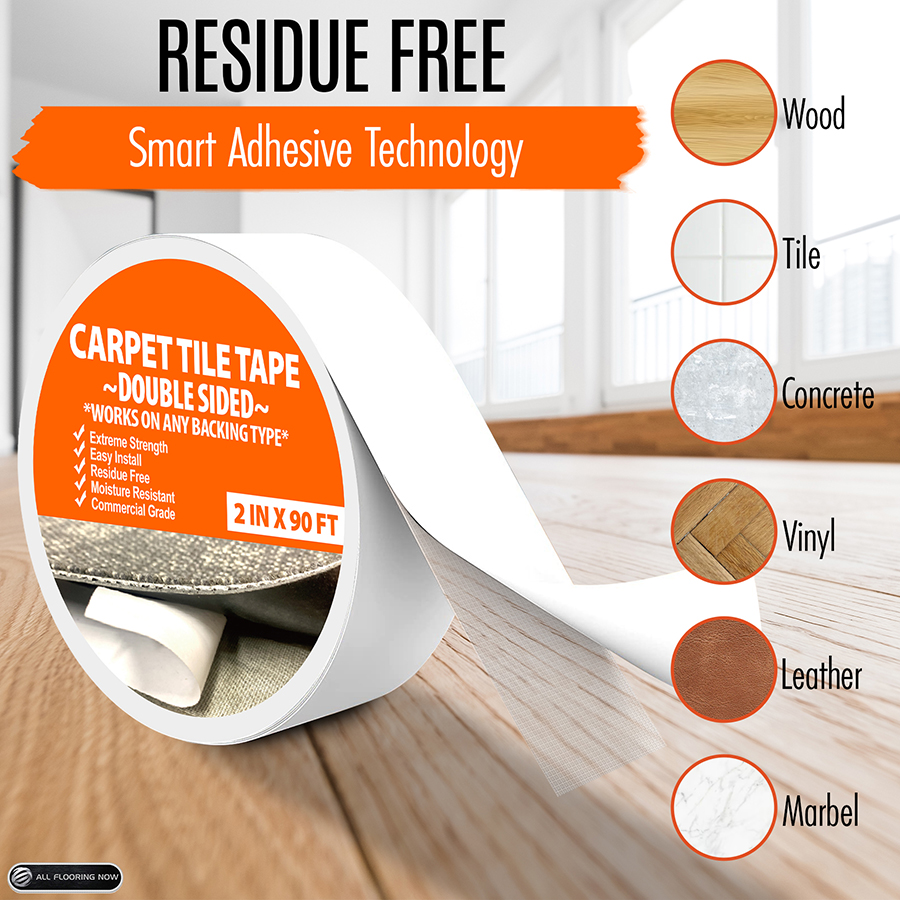
- Double-Sided Carpet Tape: Opt for a strong adhesive tape designed for carpet installation.
- Measuring Tape and Chalk: Ensure accurate measurements and guidelines.
- Utility Knife: For cutting the carpet tiles to fit around edges and corners.
Step 1: Prepare the Surface
Start by ensuring that the floor surface is clean, dry, and free of any debris. Vacuum or sweep the area thoroughly, and address any irregularities in the subfloor. This step is crucial for achieving a smooth and even carpet surface.
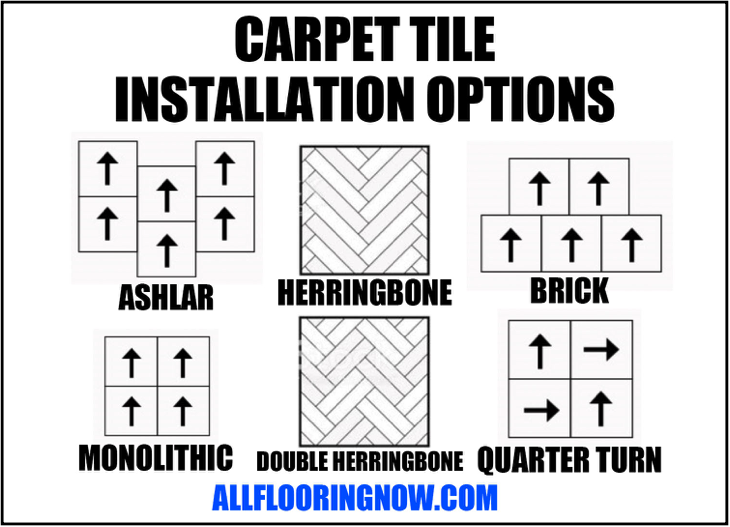
Step 2: Plan the Layout
Before applying any carpet tile tape, plan the layout of your carpet tiles. Use chalk lines to create guidelines for the placement of the tiles. This planning stage is essential for achieving a symmetrical and visually appealing result.
Step 3: Apply Double-Sided Carpet Tile Tape
Once the layout style is planned, begin applying double-sided carpet tape using either of the two options below – Grid Method or Corner Method. The tape provides a strong adhesive bond that secures the carpet tiles in place.
Grid Method

Corner Method

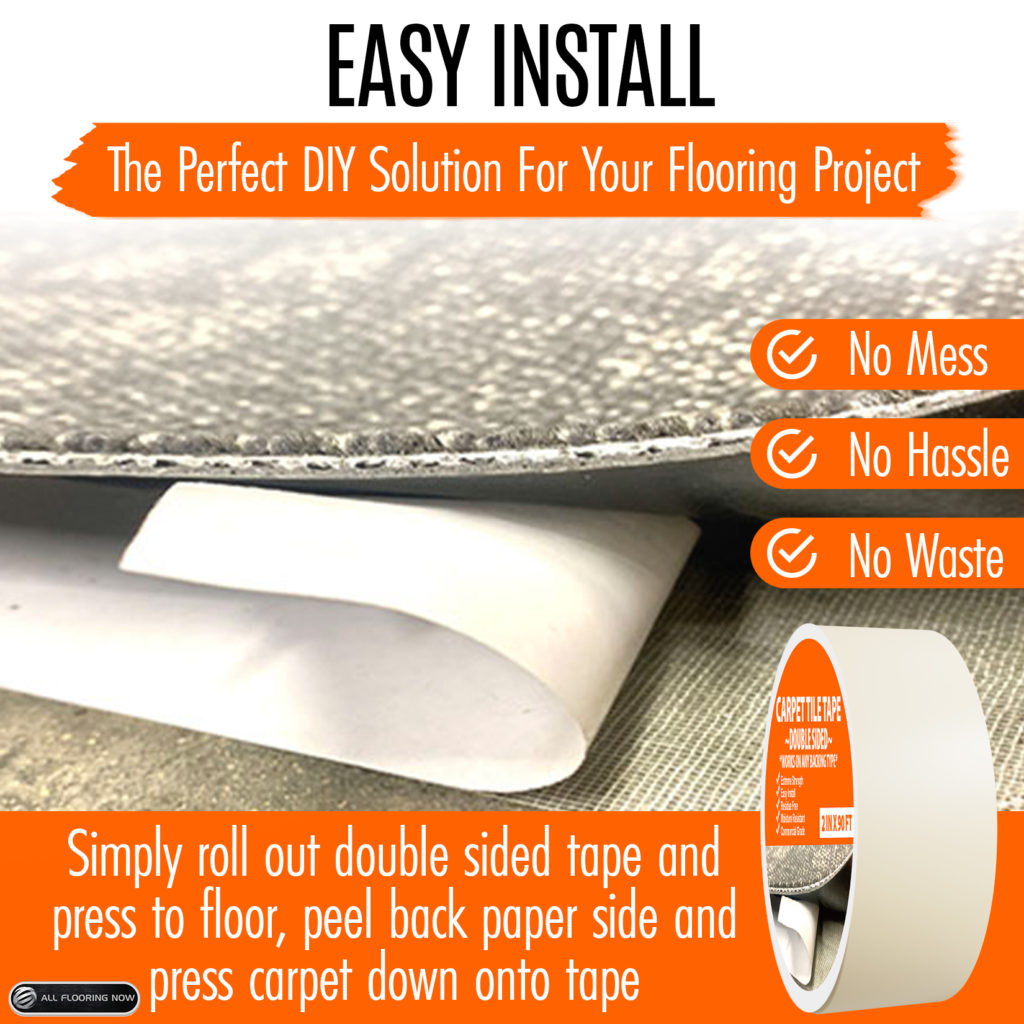
Step 4: Position and Press
Carefully position each carpet tile within its designated area. Press down firmly on each tile to secure it to the tape. The strong bond created by the double-sided tape ensures that the tiles stay in place, even in high-traffic areas.
Step 5: Cut Tiles for Edges and Corners
For areas around edges and corners, measure and cut the carpet tiles accordingly. The modular nature of carpet tiles allows for easy customization, ensuring a seamless fit in any space.
Step 6: Pick-up Scrap Cut Pieces and Vacuum Area
Tidy up your finished project by picking up your cut carpet scraps and vacuuming the area to make it ready.
Installing carpet tiles with ease using carpet tile tape is a time-saving tactic that brings both efficiency and aesthetic appeal to the carpet installation process. Whether you’re a DIY enthusiast or a professional, this method offers a convenient alternative to traditional carpet installation. The modularity, ease of replacement, and installation flexibility of carpet tiles, combined with the efficiency of using double-sided carpet tape, make it a winning combination for transforming your living space with style and ease. Consider this innovative approach for your next flooring project and experience the difference in both time and visual impact.


Leave a Reply